Compost projects · Guide 63
How to Make a Removable Wire Leaf-Compost Cylinder
Turn a measured hardware-cloth roll into a leaf-only enclosure with folded ends, protected rims, and four removable seam closures.
01 / See the shape
View the project
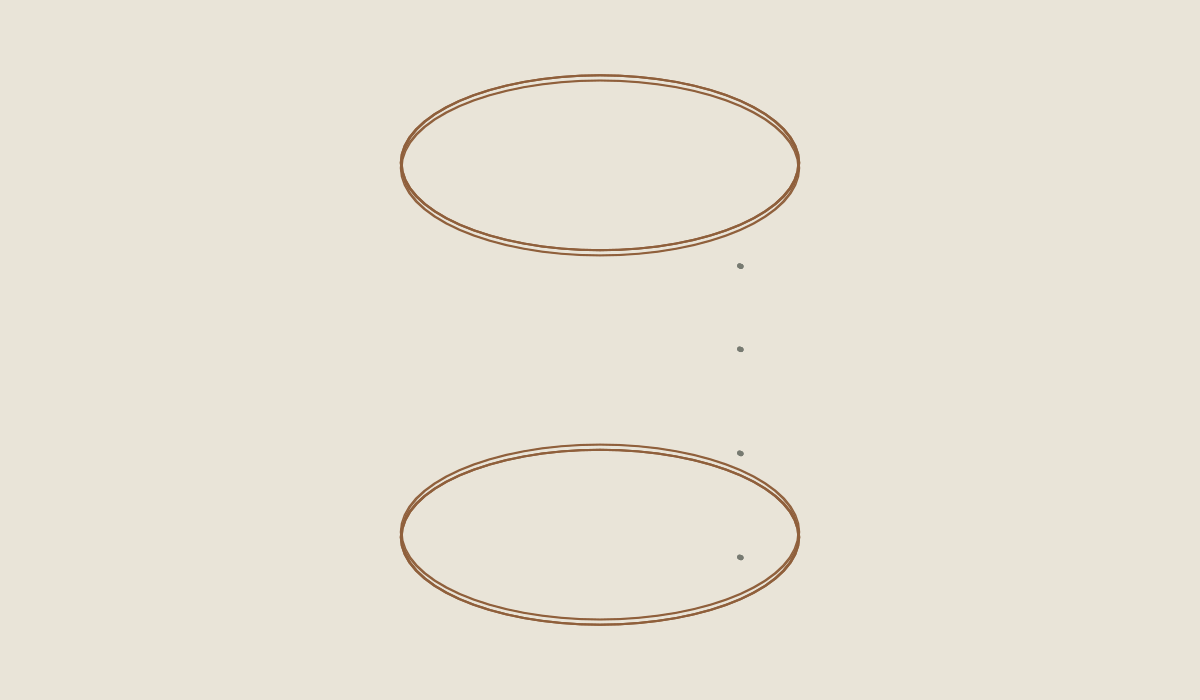
Loading the 3D view…
Drag to turn. Pinch or use + / − to zoom. The written step covers workholding and tool use.
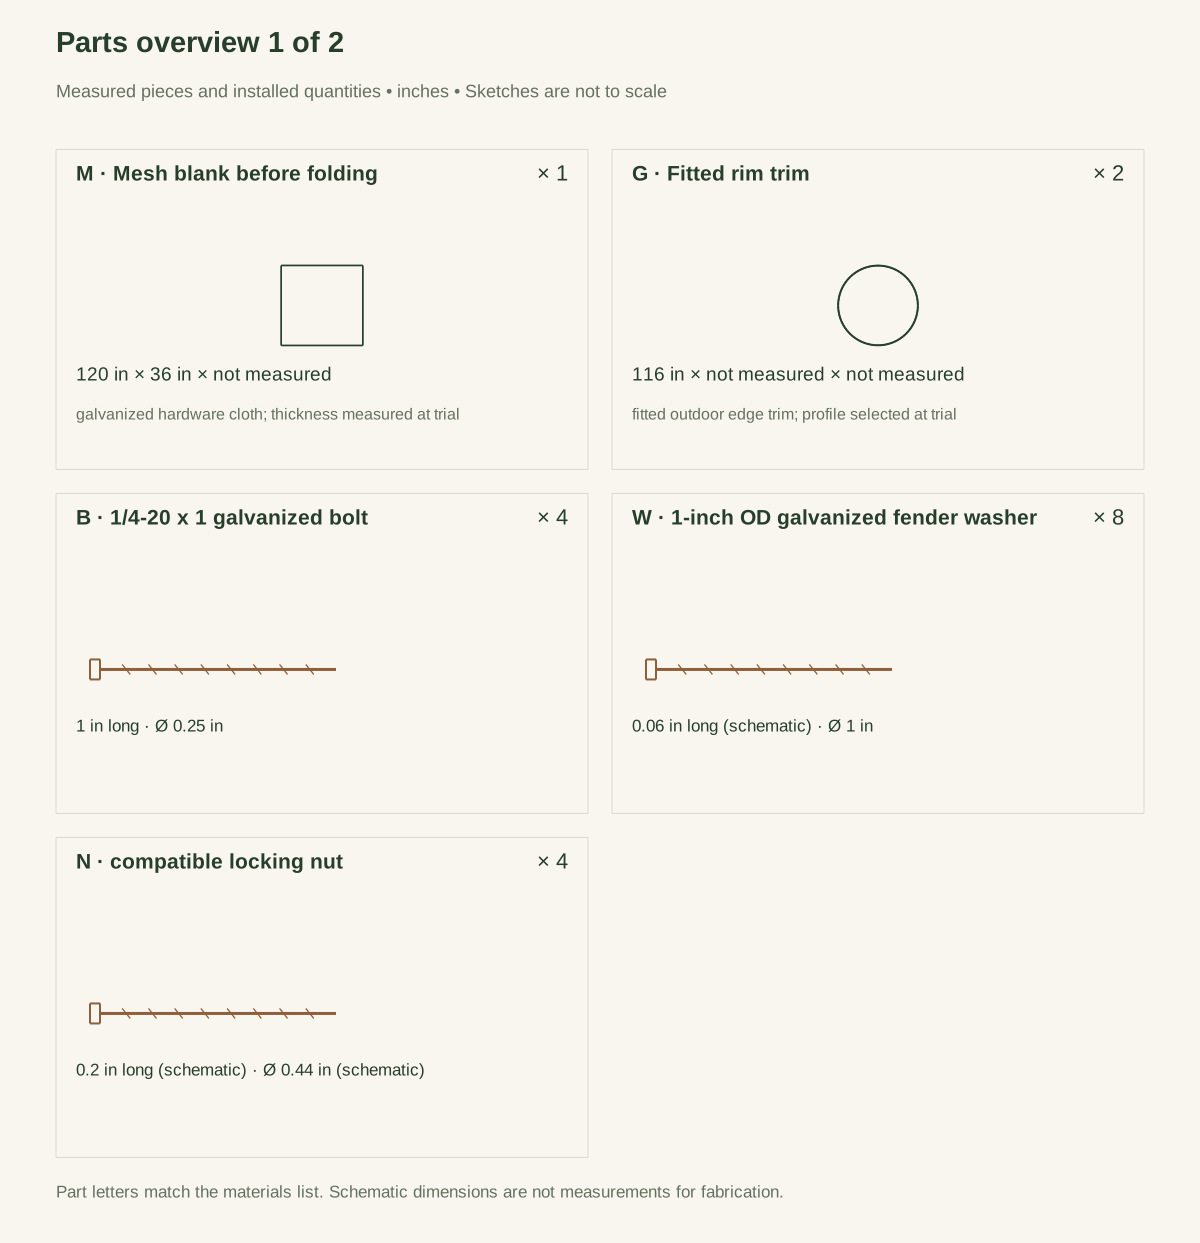
Scroll or swipe the enlarged drawing to read its dimensions. Choose Fit to see the whole drawing again.
Wire leaf cylinder. Check the dimensions and build steps before cutting.
02 / Plan your build
Before you start
A cylinder keeps a loose leaf pile in one place without giving it a permanent foundation. This version uses one roll of hardware cloth, folded vertical ends, protected rims, and four removable closure bolts. Once the leaves are removed, the enclosure can be opened for cleaning or stored as a secured roll.
Use it to hold leaves for leafmould or to keep dry browns beside a separate compost bin. It is not a vegetable planter, a food-scrap composter, an animal cage, or a retaining structure. Leafmould is a leaf-decay process; its timing depends on leaves and conditions, not the dimensions of a wire container. RHS describes wire enclosures, sheltered placement, and moisture management as one approach.
Where it goes
Sheltered, level ground away from walking routes, vents, drains, exits, and combustible storage. No elevated support, buried stakes, or wind rating.
Footprint: A circle about 35 inches across. While you build it, you need a clear, flat strip of ground at least 10 feet long to unroll the mesh.
What to expect
Careful hand-tool work; two adults should control the roll and seam. Plan 60–90 working minutes.
A planning estimate for the hands-on work, once the materials are bought and the tools are set up. It has not been timed on a finished build.
Check the spot
- Sheltered, level ground away from walking routes, vents, drains, exits, and combustible storage. No elevated support, buried stakes, or wind rating.
- Measure the mesh roll and hardware you actually bought before you cut. Keep children, pets, and other people back: cut wire ends are sharp, and a released roll can spring open.
Stop and check first if…
- Stop if wire gauge, edge-trim grip, or closure fit cannot be verified on the purchased material.
- Do not loosen a seam while a dense leaf pile is pressing outward.
- Do not substitute bird netting, reinforcing mesh, a tight cover, or improvised stakes.
Work safely
- Use a tape, permanent marker, two straight clamping battens longer than 36 inches, clamps, wire cutters rated for the selected wire, pliers, and wrenches for the chosen nuts. Wear eye protection, closed footwear, and cut-resistant gloves for wire handling. Keep children and pets outside the work area. Do not place your face above a restrained roll while releasing its ties.
- Choose a flat, firm surface away from building vents, drains, exits, dry combustible storage, and routine walking routes. There is no universal setback claim here; assess the actual property and applicable local restrictions. Do not place the cylinder on an elevated structure or slope. Do not bury sharp stakes simply because the enclosure seems light.
- Stop if wire gauge, edge-trim grip, or closure fit cannot be verified on the purchased material.
- Do not loosen a seam while a dense leaf pile is pressing outward.
- Do not substitute bird netting, reinforcing mesh, a tight cover, or improvised stakes.
Budget
We have not put a price on this one yet. Lumber and hardware prices change by store and season, so price the list under What you need at your local supplier before you buy.
03 / Gather and cut
What you need
Hardware cloth
1 roll
Galvanized welded mesh with 1/2-inch openings, sound welds, and manageable hand-forming stiffness; verify actual wire gauge. One 36 × 120-inch roll.
Fold 2 inches at each vertical end, then overlap the 116-inch developed sheet by 6 inches. The modeled circumference is 110 inches.
Protective rim trim
2 fitted lengths trim pieces
Outdoor U-channel trim with grip range verified against actual welded and folded wire. At least 232 usable inches; a 24-foot length allows fitting offcuts.
Start with at least 116 inches per rim and fit before trimming. Stop if any wire end remains accessible or trim detaches.
Seam bolts
4 bolts
1/4-20 × 1-inch galvanized hex bolts. Four matching bolts.
Use existing intact mesh openings near the center of the overlap; do not cut welds to fit a bolt.
Fender washers
8 washers
Galvanized, 1-inch outside diameter and 1/4-inch hole. Eight matching washers.
One beneath each bolt head and one beneath each outer nut; each must bridge sound mesh.
Locking nuts
4 nuts
Compatible galvanized 1/4-20 locking nuts. Four matching nuts.
Capture the overlap without crushing welds or sharply kinking the wire.
Protective caps
4 caps
Outdoor caps covering the exposed outer nut/bolt ends after tightening. Four caps fitted to the actual assembled hardware.
Verify coverage and retention after fitting. No adhesive or sharp ties compensate for a poor fit.
Cut list
| Piece | How many | Cut length | Note |
|---|---|---|---|
| M — Mesh blank before folding | 1 | 120 in | Part M, cut from galvanized hardware cloth; thickness measured at trial. Size: 120 × 36 in. Check the plan sheets for its reference edges and any shaped detail. The drawings show this part with no thickness. Measure the actual wire or trim you bought and allow for it before you assemble. |
| G — Fitted rim trim | 2 | 116 in | Part G, cut from fitted outdoor edge trim; profile selected at trial. Size: 116 in. Check the plan sheets for its reference edges and any shaped detail. The drawings show this part with no thickness. Measure the actual wire or trim you bought and allow for it before you assemble. |
Tools
- Tape, marker, and two straight clamping battens longer than 36 inches
- Clamps and secure roll restraints
- Wire cutters rated for the actual wire and pliers
- Wrenches fitted to the selected 1/4-20 hardware
Protective gear
- Cut-resistant gloves for handling and cutting the wire mesh; closed footwear and eye protection.
04 / Put it together
Build steps
- 01
Inspect before releasing the roll
Check that the factory top and bottom edges are continuous and that welds have not broken. Lay the secured roll on the ground with enough clear space to unroll it. Keep one person controlling the roll as ties are released one at a time. Secure the opened sheet with battens or weights that cannot become projectiles; never stand on the wire to flatten it.
Close-up · Whole model shows the complete part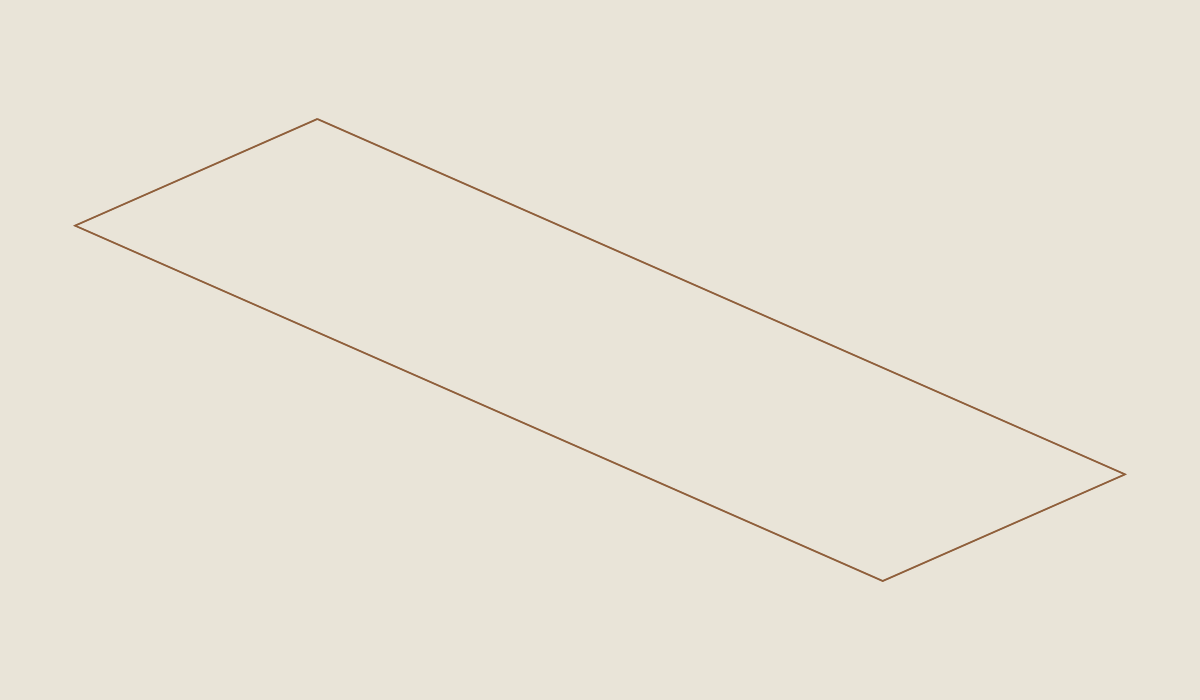
Loading the 3D view…
Drag to turn. Pinch or use + / − to zoom. The written step covers workholding and tool use.
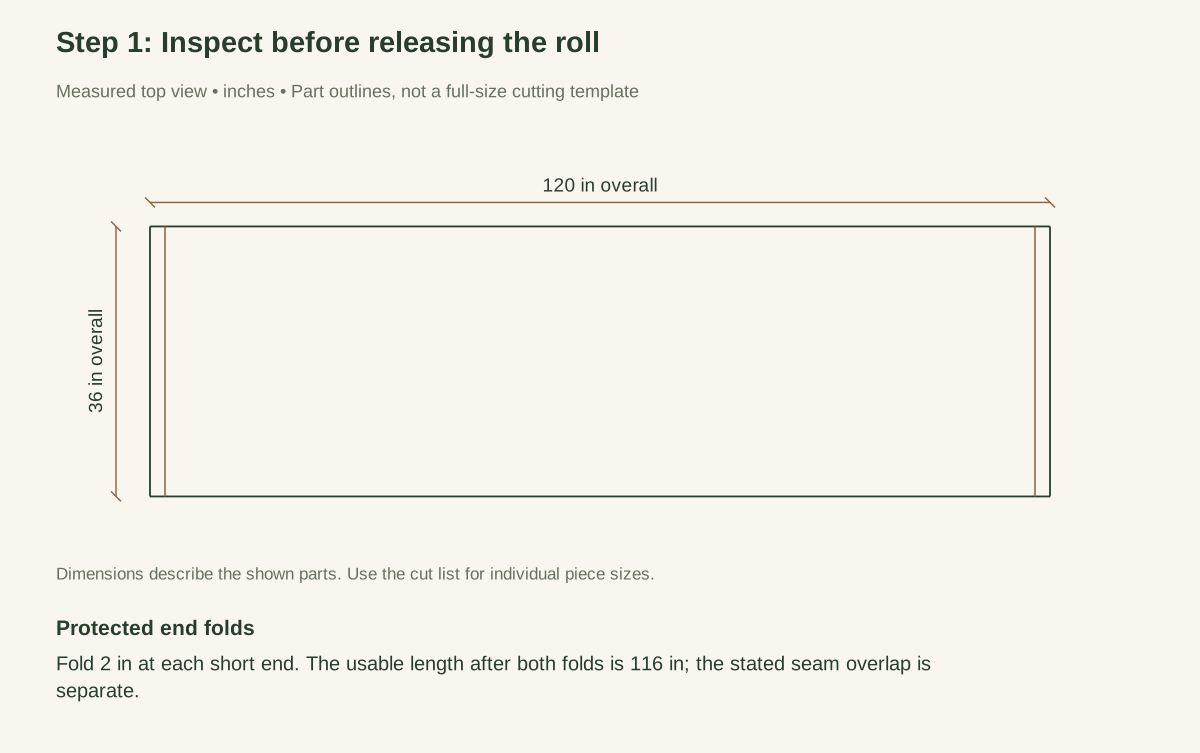
Scroll or swipe the enlarged drawing to read its dimensions. Choose Fit to see the whole drawing again.
Keep the roll restrained. This shows the flat blank before bending.
Check: Control the secured roll and inspect factory rims and welds before releasing ties.
- 02
Confirm the usable length
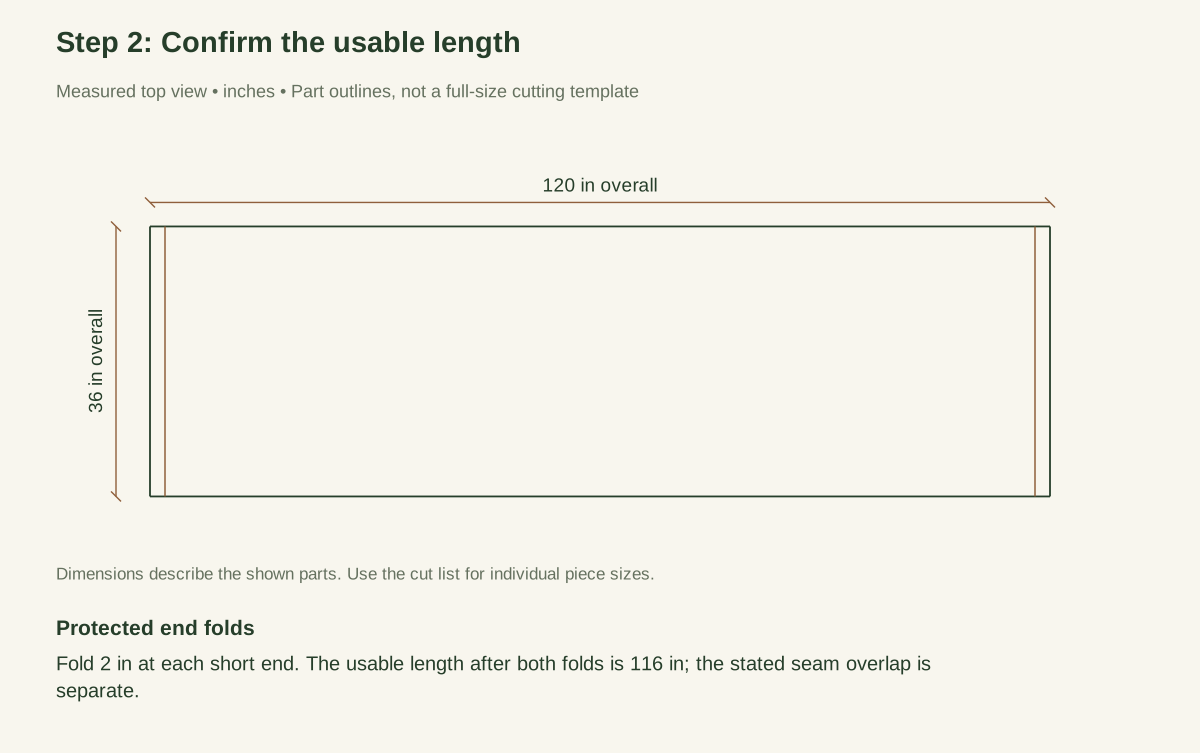
Measure the sheet along an intact horizontal wire. This plan uses a full 120-inch developed length. If the roll is shorter, do not keep quoting the same diameter: use circumference = measured length − 4 inches of folds − 6 inches of overlap, then divide by π. Reject damaged end sections rather than quietly moving a closure through broken welds.
Close-up · Whole model shows the complete part
Loading the 3D view…
Drag to turn. Pinch or use + / − to zoom. The written step covers workholding and tool use.
Scroll or swipe the enlarged drawing to read its dimensions. Choose Fit to see the whole drawing again.
Check: Usable developed sheet length is 120 inches; reject damaged ends.
- 03
Make the first protected end
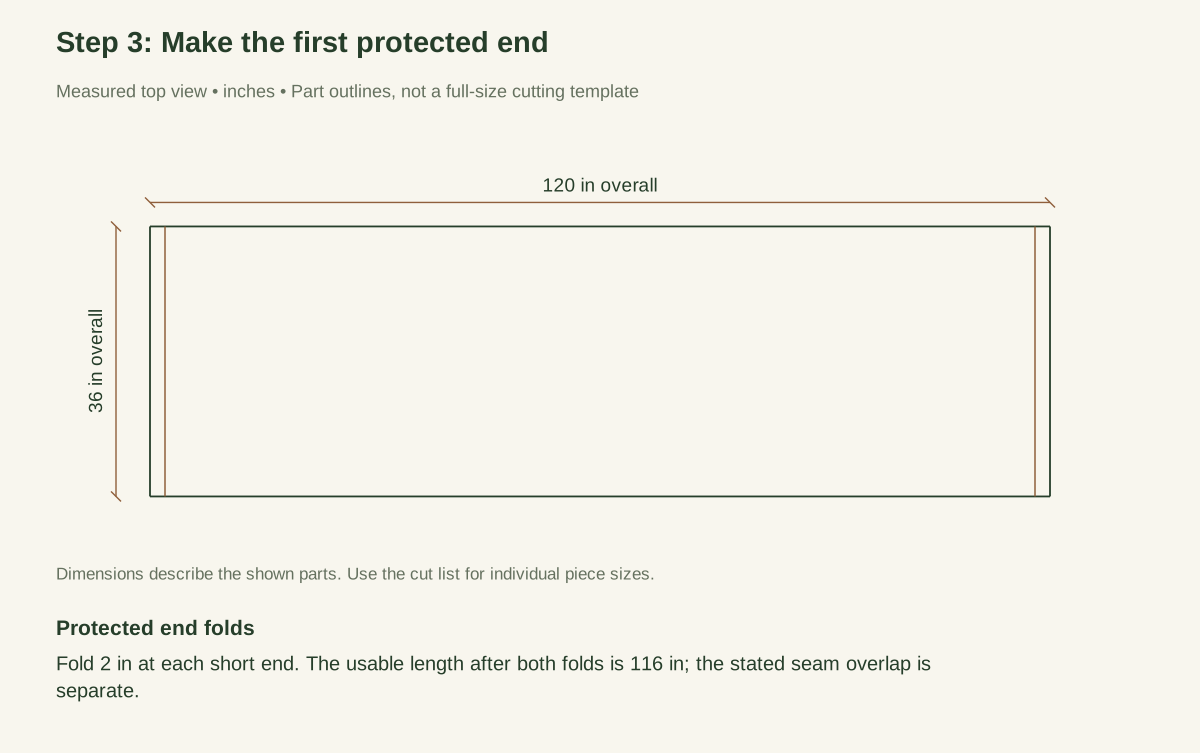
Mark a line 2 inches from one vertical edge. Clamp the sheet between the two straight battens on that line. With the cut edge directed away from your body, bend the 2-inch flap back onto the main sheet in controlled increments. Use pliers to flatten projecting points within the flap. The finished vertical edge is the fold, not the original cut edge.
Close-up · Whole model shows the complete part
Loading the 3D view…
Drag to turn. Pinch or use + / − to zoom. The written step covers workholding and tool use.
Scroll or swipe the enlarged drawing to read its dimensions. Choose Fit to see the whole drawing again.
Fold the first end inward; keep cut wire ends captured.
Check: The first 2-inch end flap encloses the cut edge rather than leaving points exposed.
- 04
Fold the other end in the same direction
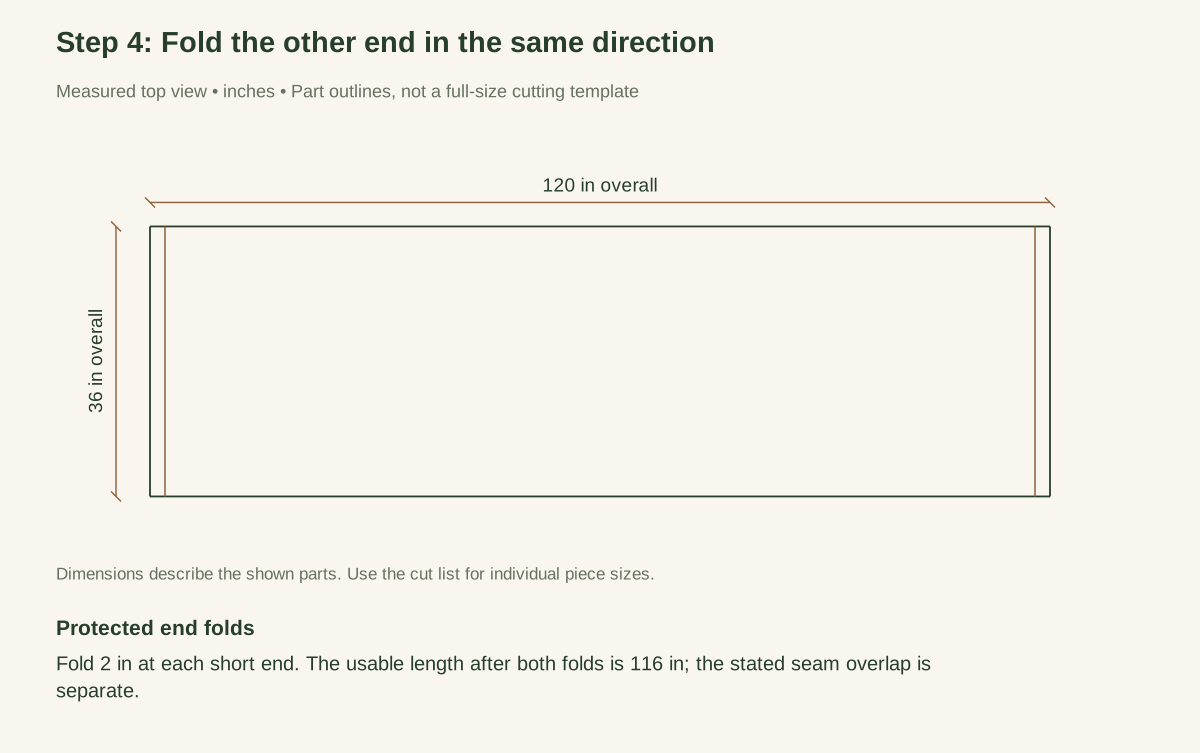
Repeat at the opposite end. Both flaps will face the inside of the final cylinder. Measure the developed width between the two folds: 116 inches. Check for springy spikes or a broken weld anywhere along either folded flap. Keep a cloth between your gloved hand and the wire during the final snag check; a cloth catching is a defect to fix, not a reason to press harder.
Close-up · Whole model shows the complete part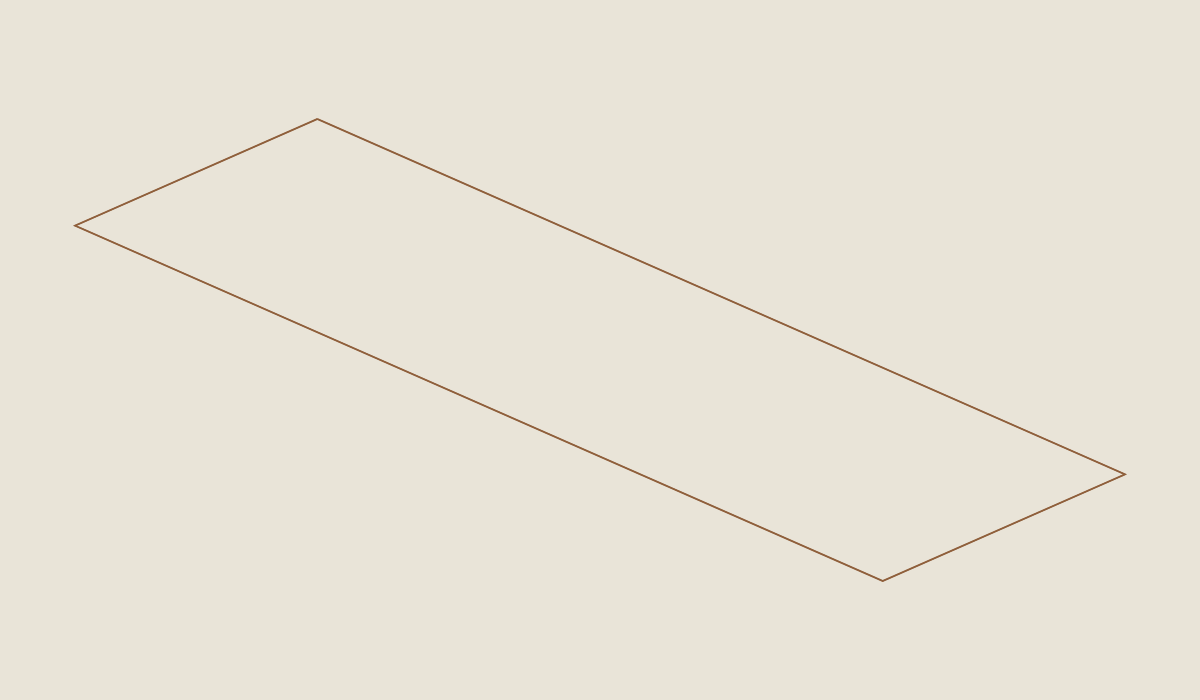
Loading the 3D view…
Drag to turn. Pinch or use + / − to zoom. The written step covers workholding and tool use.
Scroll or swipe the enlarged drawing to read its dimensions. Choose Fit to see the whole drawing again.
Fold the second end the same way; measure the usable developed length again.
Check: Both flaps face inward; finished developed width is 116 inches.
- 05
Protect the top and bottom rims
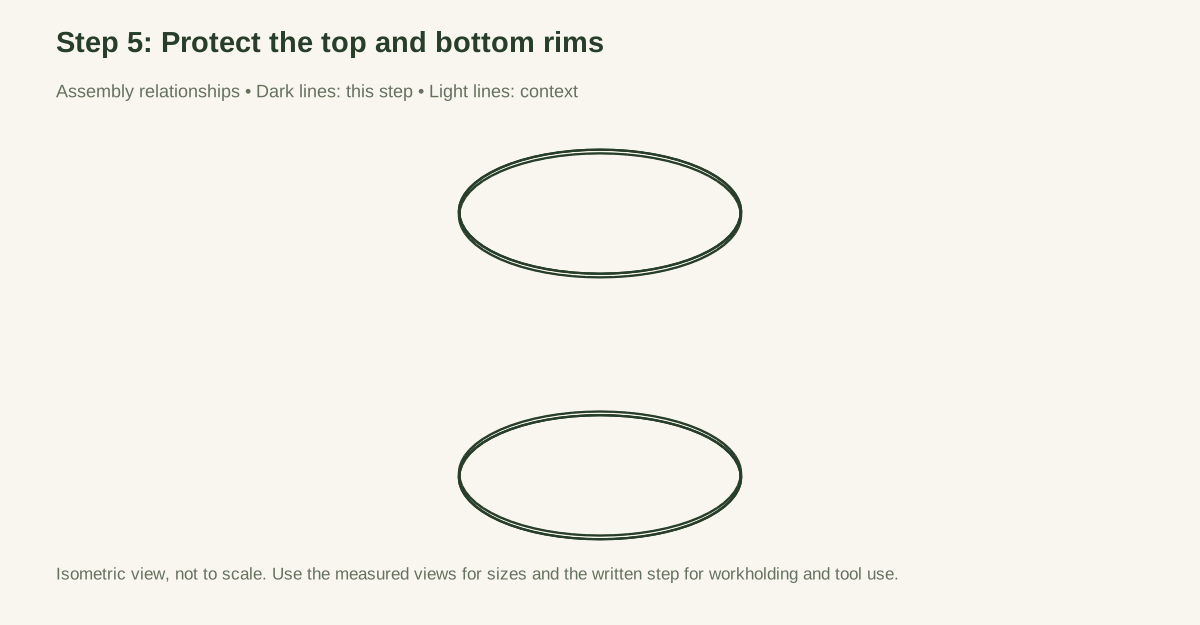
Fit the two lengths of edge trim to the horizontal rims, including the folded zones. Cut trim only after seating it along the actual wire. It must cover every accessible wire tip and stay in place during normal flexing. Do not use this build if the trim repeatedly lifts off, exposes wires, or needs sharp ties to stay attached. Note the trim profile you used so replacement pieces match.
Close-up · Whole model shows the complete part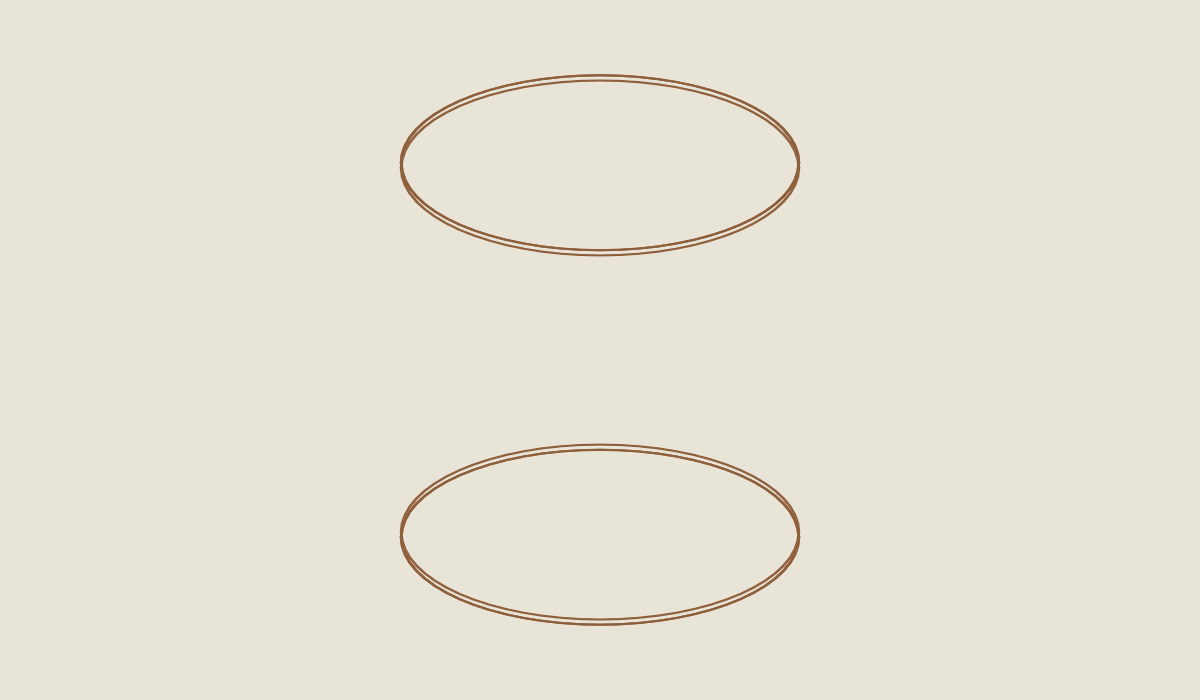
Loading the 3D view…
Drag to turn. Pinch or use + / − to zoom. The written step covers workholding and tool use.
Scroll or swipe the enlarged drawing to read its dimensions. Choose Fit to see the whole drawing again.
The trim shows coverage, not a selected product profile.
Check: Top and bottom trim cover every accessible wire end and stay attached during controlled flexing.
- 06
Form a circle with a six-inch overlap
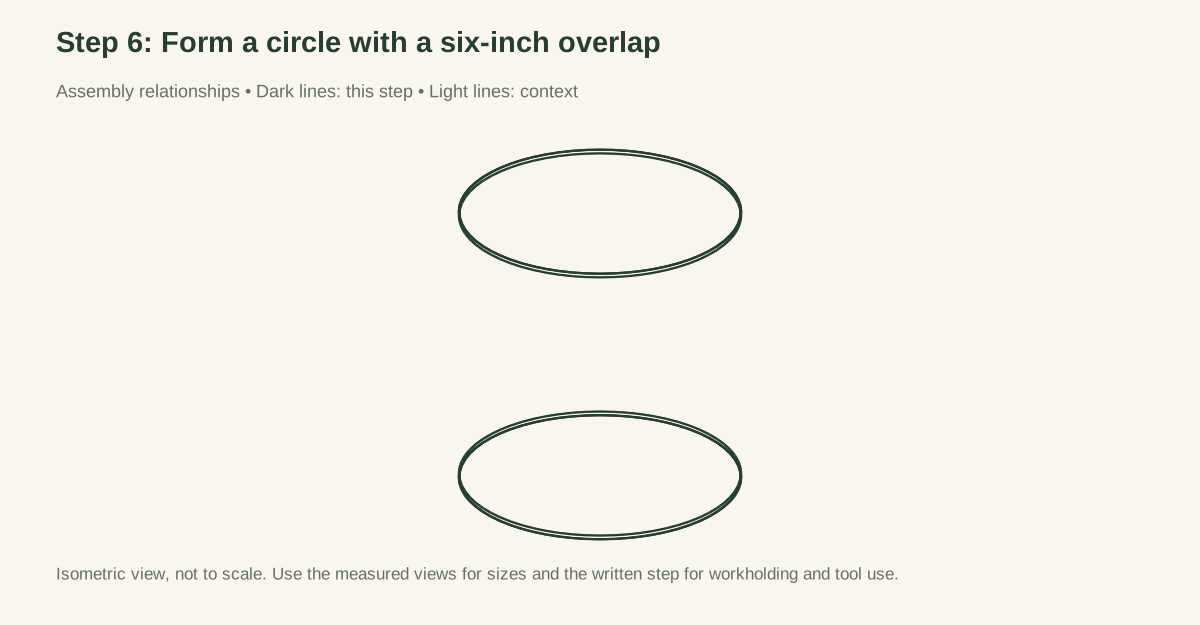
With assistance, bring the protected folded ends together. Keep both folds facing inward and overlap them by 6 inches, measured along the developed sheet rather than across a chord. Use temporary padded clamps to hold the seam. The top and bottom edges should meet at the same height. Do not force a distorted cylinder into a circle with the closure bolts.
Close-up · Whole model shows the complete part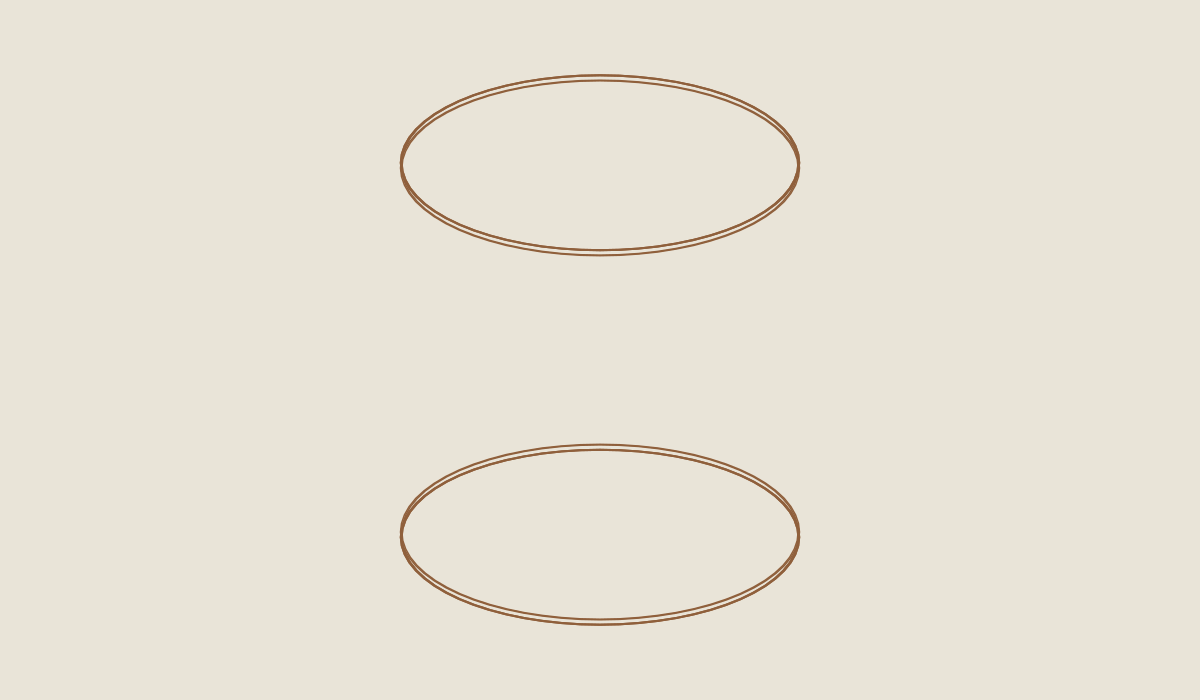
Loading the 3D view…
Drag to turn. Pinch or use + / − to zoom. The written step covers workholding and tool use.
Scroll or swipe the enlarged drawing to read its dimensions. Choose Fit to see the whole drawing again.
Check: Overlap is 6 inches along the developed sheet, not across a chord.
- 07
Place four closures
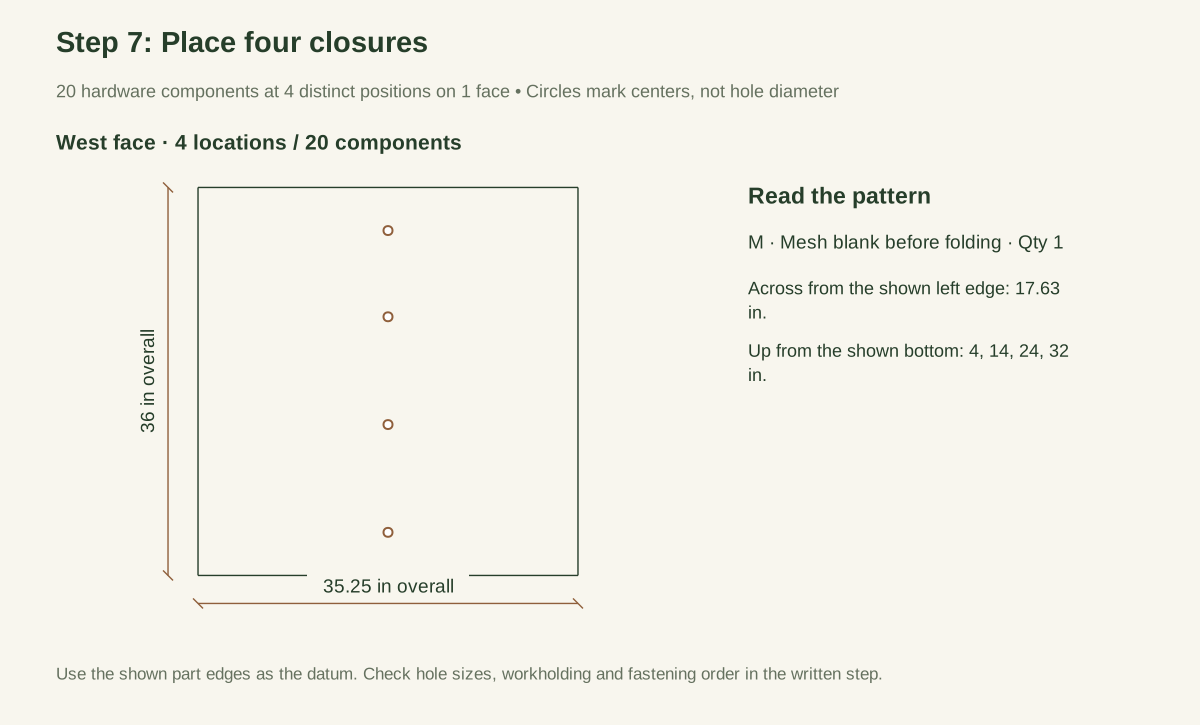
Mark closure heights 4, 14, 24, and 32 inches above the lower rim. Choose aligned existing mesh openings near the center of the 6-inch overlap; do not drill wire or cut away welded intersections. Move a bolt by no more than one half-inch mesh pitch if needed to use an intact opening, keeping the pattern otherwise consistent.
At each location use one bolt, two fender washers, and one locking nut. Put a washer under the bolt head inside and a washer under the nut outside. Tighten only enough to capture the overlap without crushing welds or sharply kinking the wire. The 1-inch washers must bridge intact mesh, not sit mostly over a broken opening. Fit a protective cap over the exposed outer hardware. There are four complete closures and eight washers in total.
Close-up · Whole model shows the complete part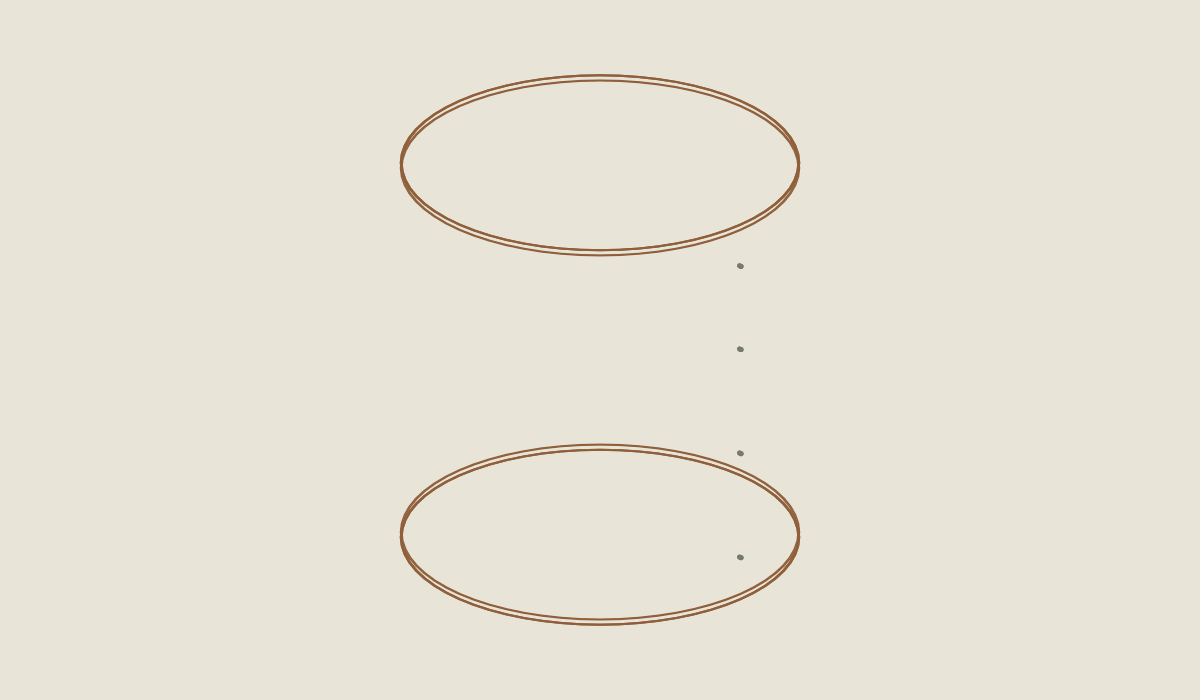
Loading the 3D view…
Drag to turn. Pinch or use + / − to zoom. The written step covers workholding and tool use.
Scroll or swipe the enlarged drawing to read its dimensions. Choose Fit to see the whole drawing again.
Each closure is a hardware stack. Coincident centers are not extra drilling locations.
Check: Fit closures at 4, 14, 24, and 32 inches: four bolts, eight washers, four locking nuts, and four protective caps.
- 08
Inspect the seam before standing the bin in place
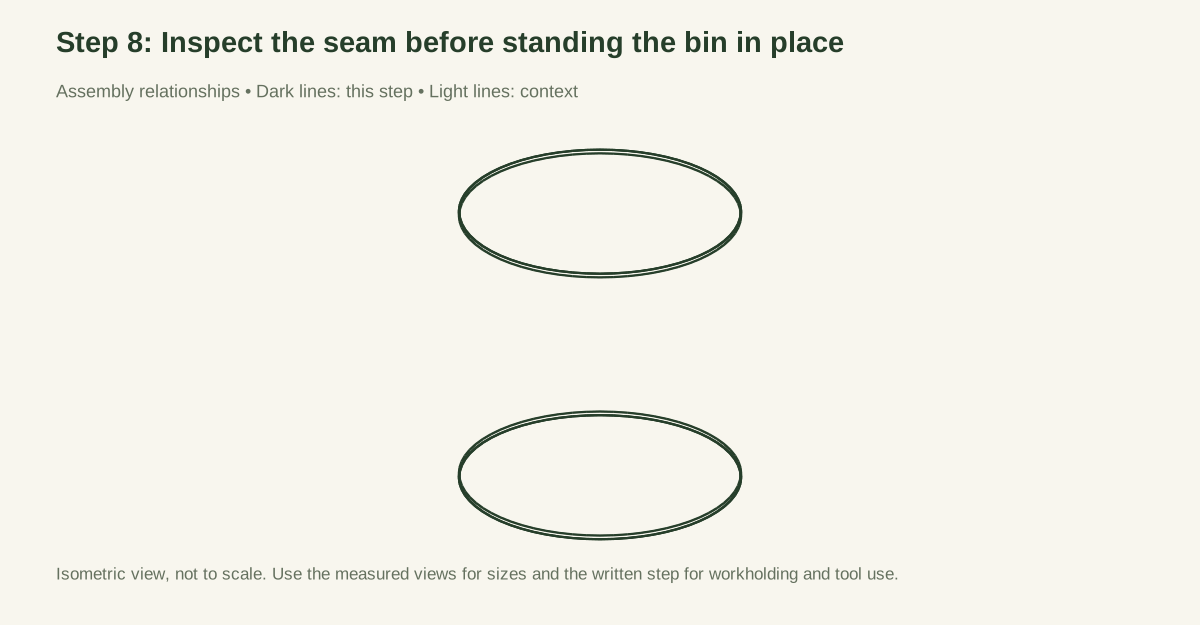
Check every folded end, rim, washer, nut, and cap. Make sure there are no loose cut-wire pieces on the ground. Gently move the empty enclosure while controlling it with both hands; the seam should not slip and the trim should not detach. An unsecured, rocking, or wind-sensitive empty enclosure fails this check.
Close-up · Whole model shows the complete part
Loading the 3D view…
Drag to turn. Pinch or use + / − to zoom. The written step covers workholding and tool use.
Scroll or swipe the enlarged drawing to read its dimensions. Choose Fit to see the whole drawing again.
Check: The empty enclosure has no slipping seam, detaching trim, rocking, or exposed wire debris.
- 09
Add clean leaves in small layers
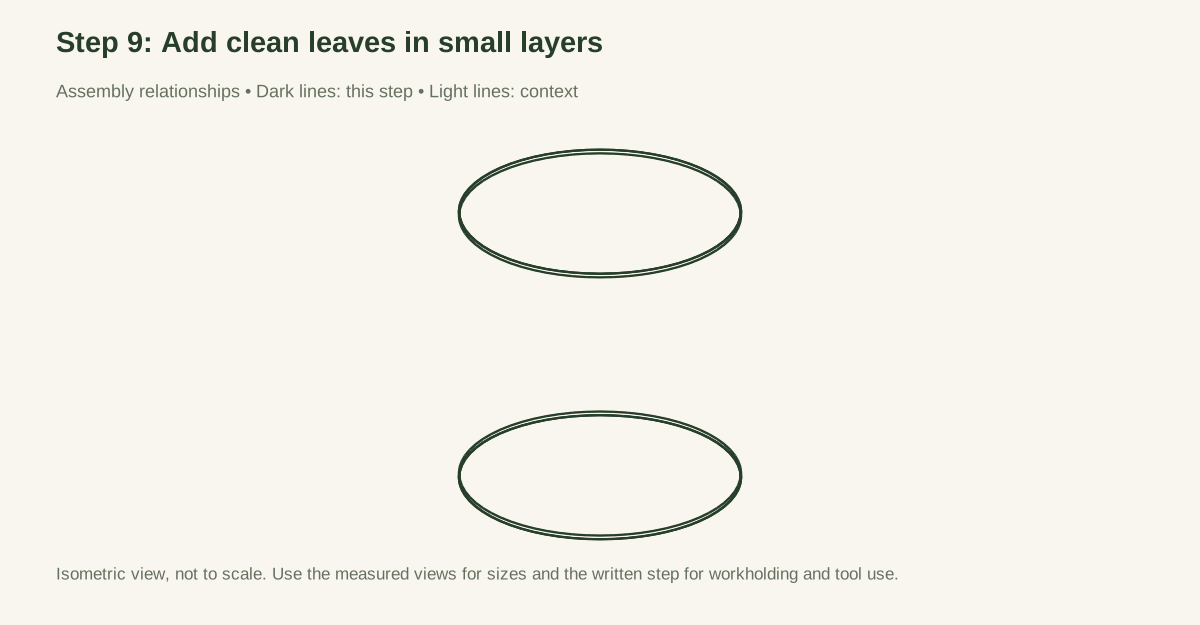
Set the empty enclosure on its final suitable ground surface. Remove litter from the leaves first. Add them loosely up to the 30-inch line rather than pressing them hard against the mesh. If leaves are very dry, lightly moisten them; do not flood the pile or create runoff. Keep woody branches that press sharply against the wire out of this leaf-only enclosure. RHS notes that leaf type and drying affect breakdown; this guide makes no fixed finish-date claim.
Close-up · Whole model shows the complete part
Loading the 3D view…
Drag to turn. Pinch or use + / − to zoom. The written step covers workholding and tool use.
Scroll or swipe the enlarged drawing to read its dimensions. Choose Fit to see the whole drawing again.
Use the empty cylinder as a placement reference; add only the materials described.
Check: Keep clean loose leaves below the 30-inch line; no branches pressing sharply outward.
- 10
Recheck after settlement and weather
Look at the seam and base after the first fill and after windy or wet weather. Remove contents if the cylinder distorts, shifts, or develops sharp broken welds. Do not add a tight tarp over the top: it would turn a porous enclosure into a different wind-loaded assembly. For an exposed site, choose a separately designed supported system rather than adapting this one informally.
Close-up · Whole model shows the complete part
Loading the 3D view…
Drag to turn. Pinch or use + / − to zoom. The written step covers workholding and tool use.
Scroll or swipe the enlarged drawing to read its dimensions. Choose Fit to see the whole drawing again.
Check: Unload if the cylinder shifts, distorts, or develops broken welds; do not add a tight wind-catching tarp.
05 / Keep it sound
Care
After the build
- Use clean loose leaves only, below the 30-inch line, in a sheltered location where the empty enclosure is stable.
- Before opening the seam, remove outward pressure and restrain the overlap while another adult controls the sheet.
Check it each season
- Remove leaves through the top until they are no longer pressing against the seam. Hold the overlap with clamps before loosening the bolts. Remove closures from the top downward while another person controls the spring of the sheet. Open it slowly. Never undo the seam while a dense pile is pushing outward.
- Clean away trapped material and dry the enclosure. Refit the caps to stored bolts so small sharp parts do not become loose debris. Roll or lay the wire securely with the protected edges accessible for inspection, not leaning loosely against a fence. Keep it beyond children's reach.
- The slatted compost bin is a separate system for mixed garden trimmings. Use mature material appropriately; a screen removes coarse pieces but does not remove contamination or prove maturity.
If something looks wrong
- Rim trim comes off
- Check: Grip range, damaged trim, thick folded corner. Fix: Stop using it until a mechanically secure, fully covering fit is obtained.
- Seam creeps open
- Check: Loose nut, washer not spanning sound welds. Fix: Unload, reclamp, and correct the closure; do not tighten against a loaded pile.
- Leaves stay dry inside
- Check: Sheltered position, water reaching the center. Fix: Moisten modestly while turning; avoid soaking the surrounding ground.
- Cylinder leans or rolls
- Check: Uneven base, wind, asymmetric loading. Fix: Unload and relocate or store; do not add improvised stakes.
- Wire breaks or rusts through
- Check: Damaged coating, repeated bending. Fix: Replace the damaged enclosure, not just the visible tip.
Keep exploring